Protect the UniFi Cloud Key with a custom SSL certificate

When connecting to the UniFi Cloud Key Controller, you need to know the IP-address and port number (default 8443). In my situation, the IP-address is 192.168.1.64
If you do not know your Cloud Key IP-address, use the Ubiquiti Device Discovery Tool.
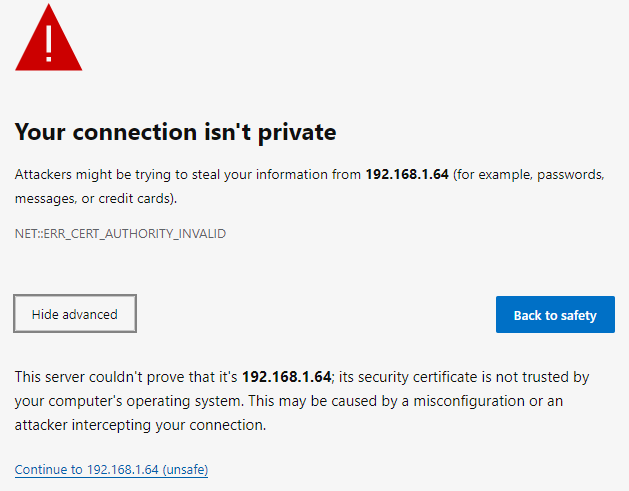
The connection is using https (that’s good), but there is no domain name, so the default SSL certificate triggers a security warning in your web browser because it can’t be verified. Also, the web browser will not remember your login credentials for the next login.

Custom hostname
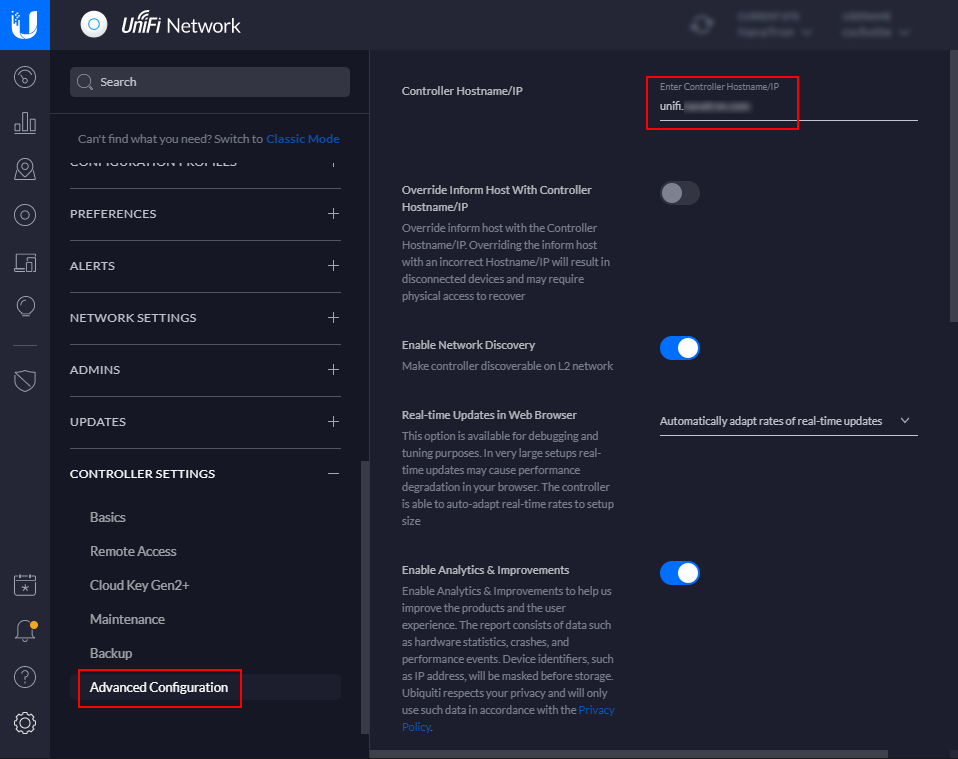
In the Cloud Key Controller, we can use a custom hostname (under Controller settings -> Advanced Configuration). I created a sub-domain ‘unifi’ at my DNS provider (I use Azure DNS for all my domains) and pointed an A-record to the UniFi Cloud Key IP address. This new hostname gives me a friendly URL, but the SSL warning is still there.

Adding a SSL certificate
We can now access the Cloud Key with a custom hostname, but we also need to add a custom SSL certificate to the controller. The SSL certificate needs to have the same domain name associated as in the custom hostname field. I used the same wildcard SSL certificate I hold for my public domain name.
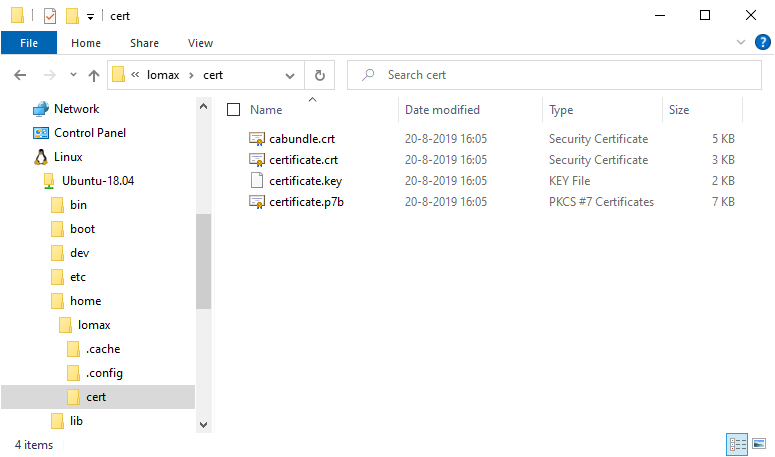
My SSL certificate files are in a different format for what we need. We need to create a P12 bunded certificate archive and transfer this to the Cloud Key. To create a P12 bunded certificate archive, I use OpenSSL.
Under Windows 10, I use the Windows Subsystem for Linux (WSL) and Ubuntu. No need to install OpenSSL for Windows.

This will create a P12 bunded certificate archive with a temporary password we use later.
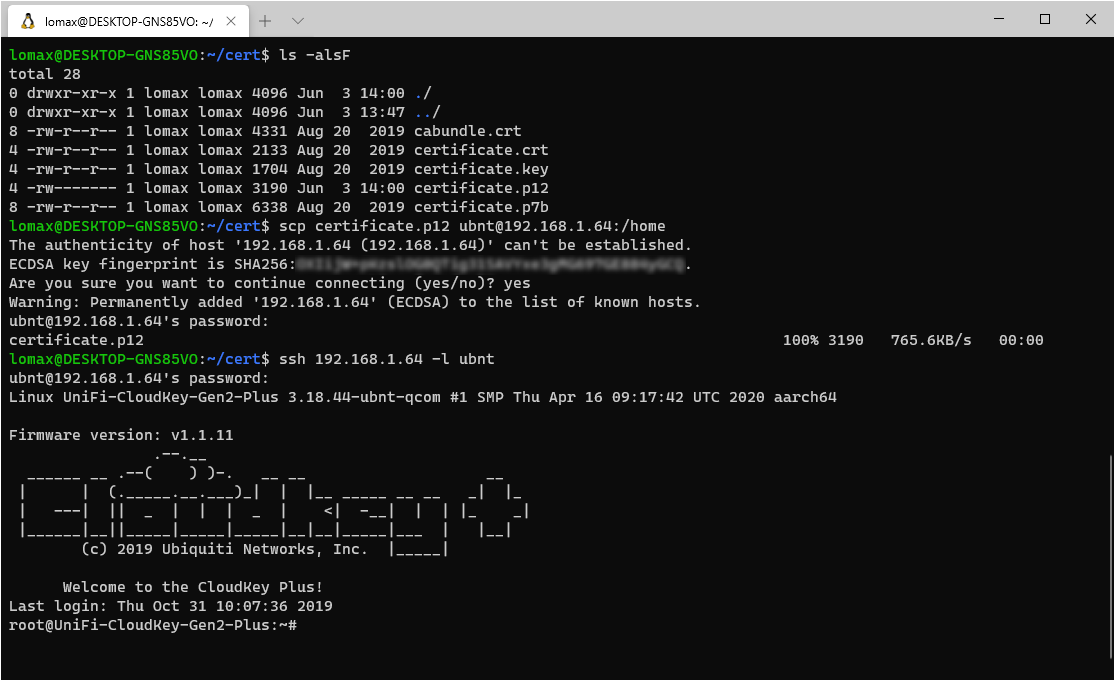
openssl pkcs12 -export -inkey certificate.key -in certificate.crt -out certificate.p12 -name ubnt -password pass:temppassCopy the P12 certificate from your local computer to the Unifi Cloud Key. I put it in the ‘/home’ folder.
scp certificate.p12 ubnt@192.168.1.64:/homeEnable the new SSL certificate
First, we need to login into the Cloud Key and stop the running services. The ubnt is the default user.
ssh 192.168.1.64 -l ubnt
I like to use Midnight Commander (MC) under Linux, to install MC use the following optional commands:
sudo apt-get update
sudo apt-get install mc
Stop the nginx and unifi services on the cloud key
service nginx stop
service unifi stop
The next step is to remove the symbolic link and the reference to the built-in self-signed SSL certificate inside the Cloud Key.
rm /usr/lib/unifi/data/keystoreAnd remove the following line “UNIFI_SSL_KEYSTORE=/etc/ssl/private/unifi.keystore.jks” from the file “/etc/default/unifi”. It shoud be the last line in the file.
mcedit /etc/default/unifiNow we can install the new SSL certificate. We use the temporary password we created earlier.
sudo keytool -importkeystore -deststorepass aircontrolenterprise -destkeypass aircontrolenterprise -destkeystore /usr/lib/unifi/data/keystore -srckeystore /home/certificate.p12 -srcstoretype PKCS12 -srcstorepass temppass -alias ubnt -nopromptThis will give a warning you can ignore: “Warning: The JKS keystore uses a proprietary format …”.
Restart the nginx and unifi services we stopped.
service nginx start
service unifi start
Test en clean up
Let’s test if we can now access the Cloud Key using the new hostname and custom SSL certificate.
If everything is working, we need to clean up the temporary P12 certificate.
rm /home/certificate.p12